
I bought some mini composition books at the local big-box office store - they are the perfect size for carrying in a purse or jacket pocket - but the cover art is certainly less-than-inspiring! A new jacket was needed! So... here's how I started...
Using an old envelope, I made a template of the raw dimensions - this template is the exact size of the journal when laid out completely flat and takes into account the width of the spine.

Then, so I never have to measure the darned thing again, I write two sets of measurements on it - the "raw" size and the expanded size after adding 1/2" seam allowance.

Since this cover fits over the journal like a book jacket, I needed to decide the dimensions of the flaps - I decided they should be 2 1/2" wide. Then, because I really don't like measuring in eighths of inches, I expanded the other measurements again by 1/8" to get these:

Using these expanded measurements, I made a final template from a left-over chipboard box. I will use these to trace around before cutting the pieces.


For the journal cover you will need 4 pieces of fabric - 2 for the cover flaps, 1 for the front cover and one for the lining. If you don't care about seeing the stitching and such from the cover embellishments, you could nix the lining piece but I think having the lining also provides some overall structure.


Sew everything into place. I enjoy handsewing so I basically embroidered everything into place...

Since I wanted to use a button for the closure, I added that after all the other embellishing was done.
Finish one long edge of each flap by turning a hem, sewing a zip-zag stitch or handsewing a whip stitch or blanket stitch.
Then layer your pieces: the embellished cover face down, the lining fabric face up and the flap pieces aligned at each end with the finished edge toward the center.

I decided to finish my edges with blanket stitch - like so...
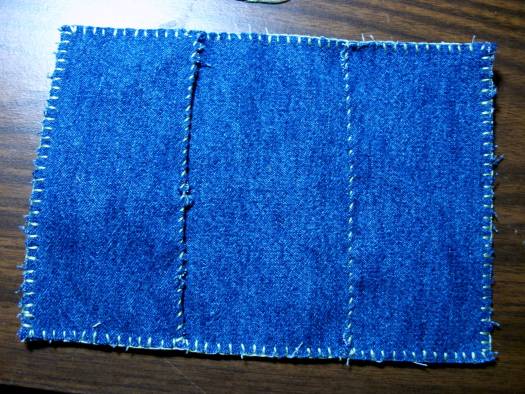
You could also do a quick zig-zag stitch around the entire piece, too.
The last step was to make a string wrap for the closure and sew it on to the edge of the back flap and slip my little composition book into it's new jacket!


I love your tutorial and final result! I also used to make similar things-http://recyclingismypassion.blogspot.com/2011/02/sirsninblocins.html
ReplyDelete